7 Handy Uses For Stitch Markers
Anyone who knows me, from a crocheting perspective, knows that I am a huge fan of stitch markers. I have used stitch markers since the day that I started learning to crochet, and still use them every day (albeit for slightly different purposes). Recently my love affair with stitch markers reached new heights when my friends and family were kind enough to buy me some beautiful stitch markers for my birthday and at Christmas (as you will have seen within the Elimee Designs video blog).
Stitch markers can be helpful in a multitude of ways when crocheting (and knitting), which I will discuss below. There are also many different types of stitch markers, and alternatives to stitch markers - check out our blog post ‘20 ways to make crocheting more affordable’.
Want to come back to this blog post later? Simply pin the image below as a reminder :)
***This page may include affiliate links - this means that I may earn a small commission if you purchase the product. This is at no additional cost to you. I will only recommend products that I have tried and tested myself, and that I like using. This income helps me to keep designing quality crochet patterns for you.***
Would you like to ensure that you never miss an Elimee Designs blog post, pattern release or giveaway again? Be sure to sign up to our newsletter below.
7 Handy Uses For Stitch Markers
To mark the start/end of a row - particularly when you are just starting out, it is incredibly easy to accidentally miss the first/last stitch of a row if you are not counting religiously. If you miss these stitches, over time, you will notice that your work is becoming progressively narrower. Whilst a certain amount can be compensated for with strategic increases or a border, it is far better to avoid this issue in the first place.
To mark the start of a round - whilst this use is similiar to the above, it applies when you’re working in circles (i.e. rounds) rather than in rows. Stitch markers can be particularly handy in this situation if you are working in a spiral, and therefore the start/end of a round is trickier to spot. (Working in a spiral is common when crocheting amigurumi.)

3. To help you count stitches or rows - when you are new to crocheting or using small stitches it can be tricky to keep track of how many rows you have completed. If you come back to your work after a break this issue can be exacerbated. In order to make things easier, e.g. when crocheting socks, simply place a stitch marker to mark every 5/10/20th row - counting will now be a breeze :) Along the same vein, when crocheting a long chain/rows, if you place a stitch marker every 10/20/50 stitches it is much easier to keep track of your stitch count.
4. To stop your work from unravelling - when you need to put down your project just pop a stitch marker through the loop of yarn that your crochet hook was in and your stitches won’t unravel! (FYI - this will only work if your stitch marker is a good size when compared your yarn thickness.) I have found this use invaluable when my kids are around - they all seem to pass through a developmental phase where ‘playing with mummy’s WIPs’ is apparently a must.

5. To mark important stitches - when you’re starting out, crocheting a complex project, or needing to crochet in short bursts it is often helpful to mark important stitches e.g. where you need to decrease, corner stitches, where you need to start a differently patterned section. Some patterns will even advise you to mark certain stitches.
6. To hold project pieces together for joining - for example, when preparing to join your Waggle Dance Bee Blanket panels together, or the layers of your Aphrodite Cushion Cover, stitch markers can help to make sure that everything is lined up evenly, and reduces the risk of needing to frog your work later.
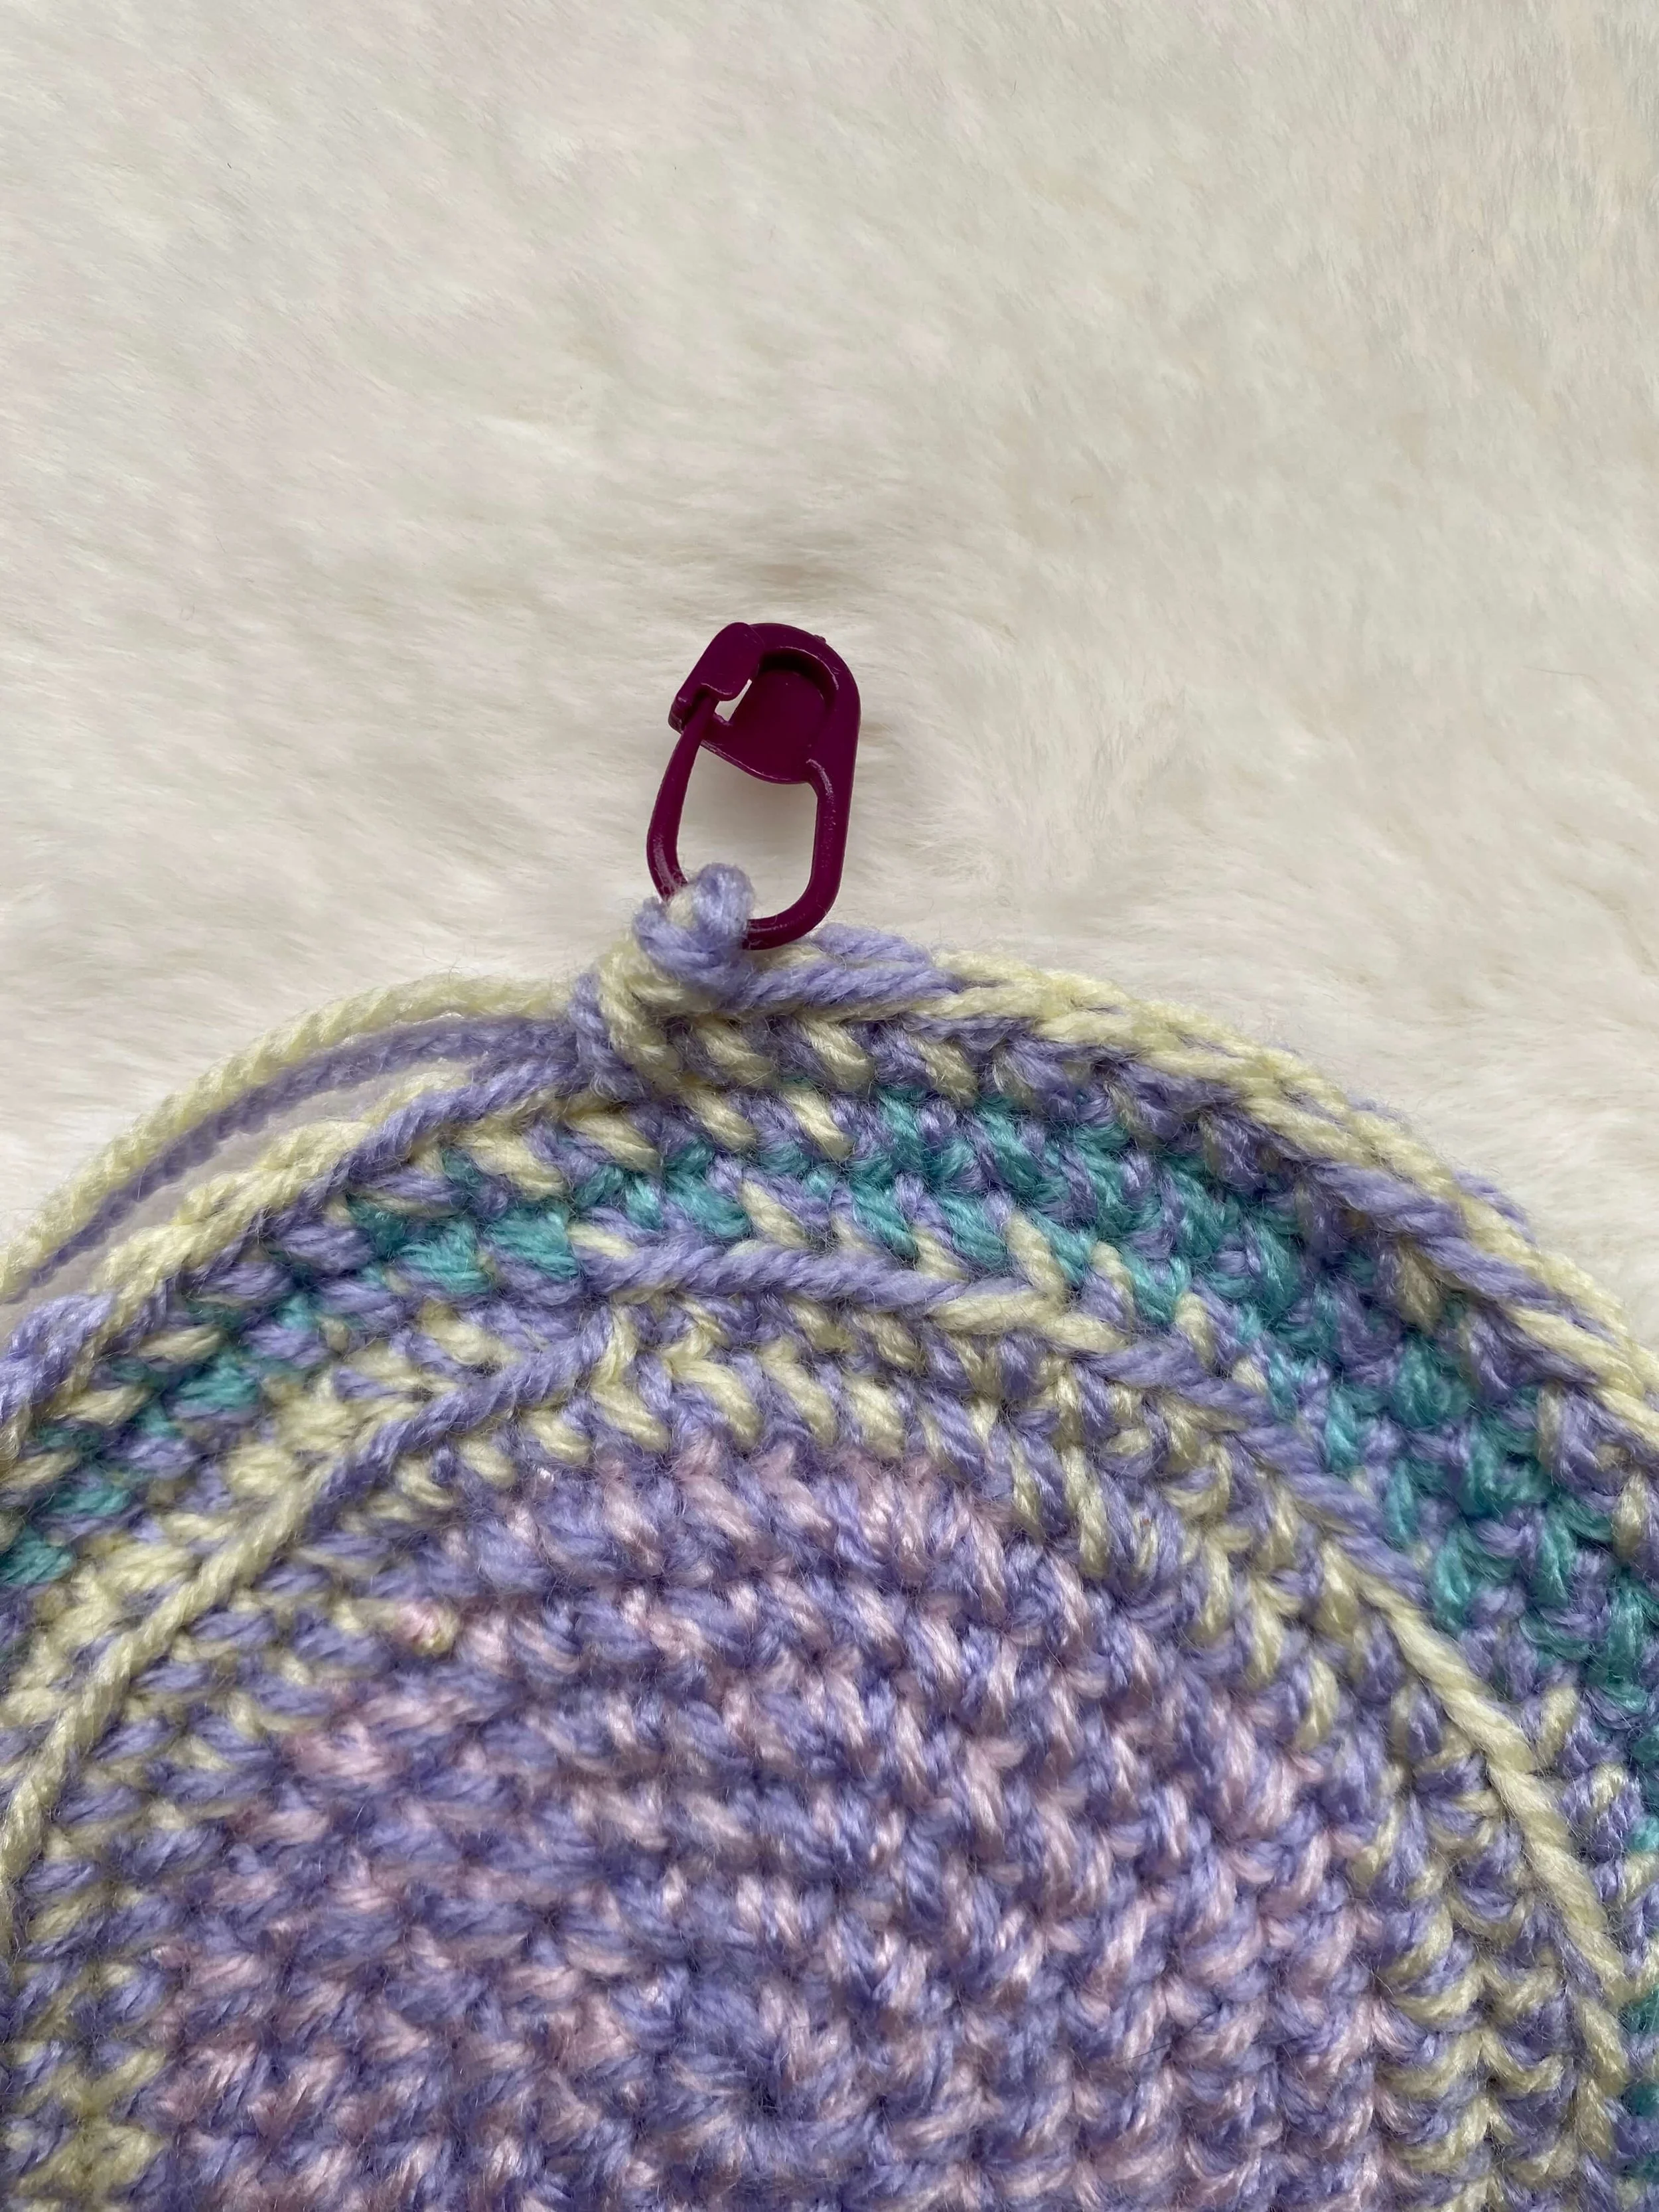
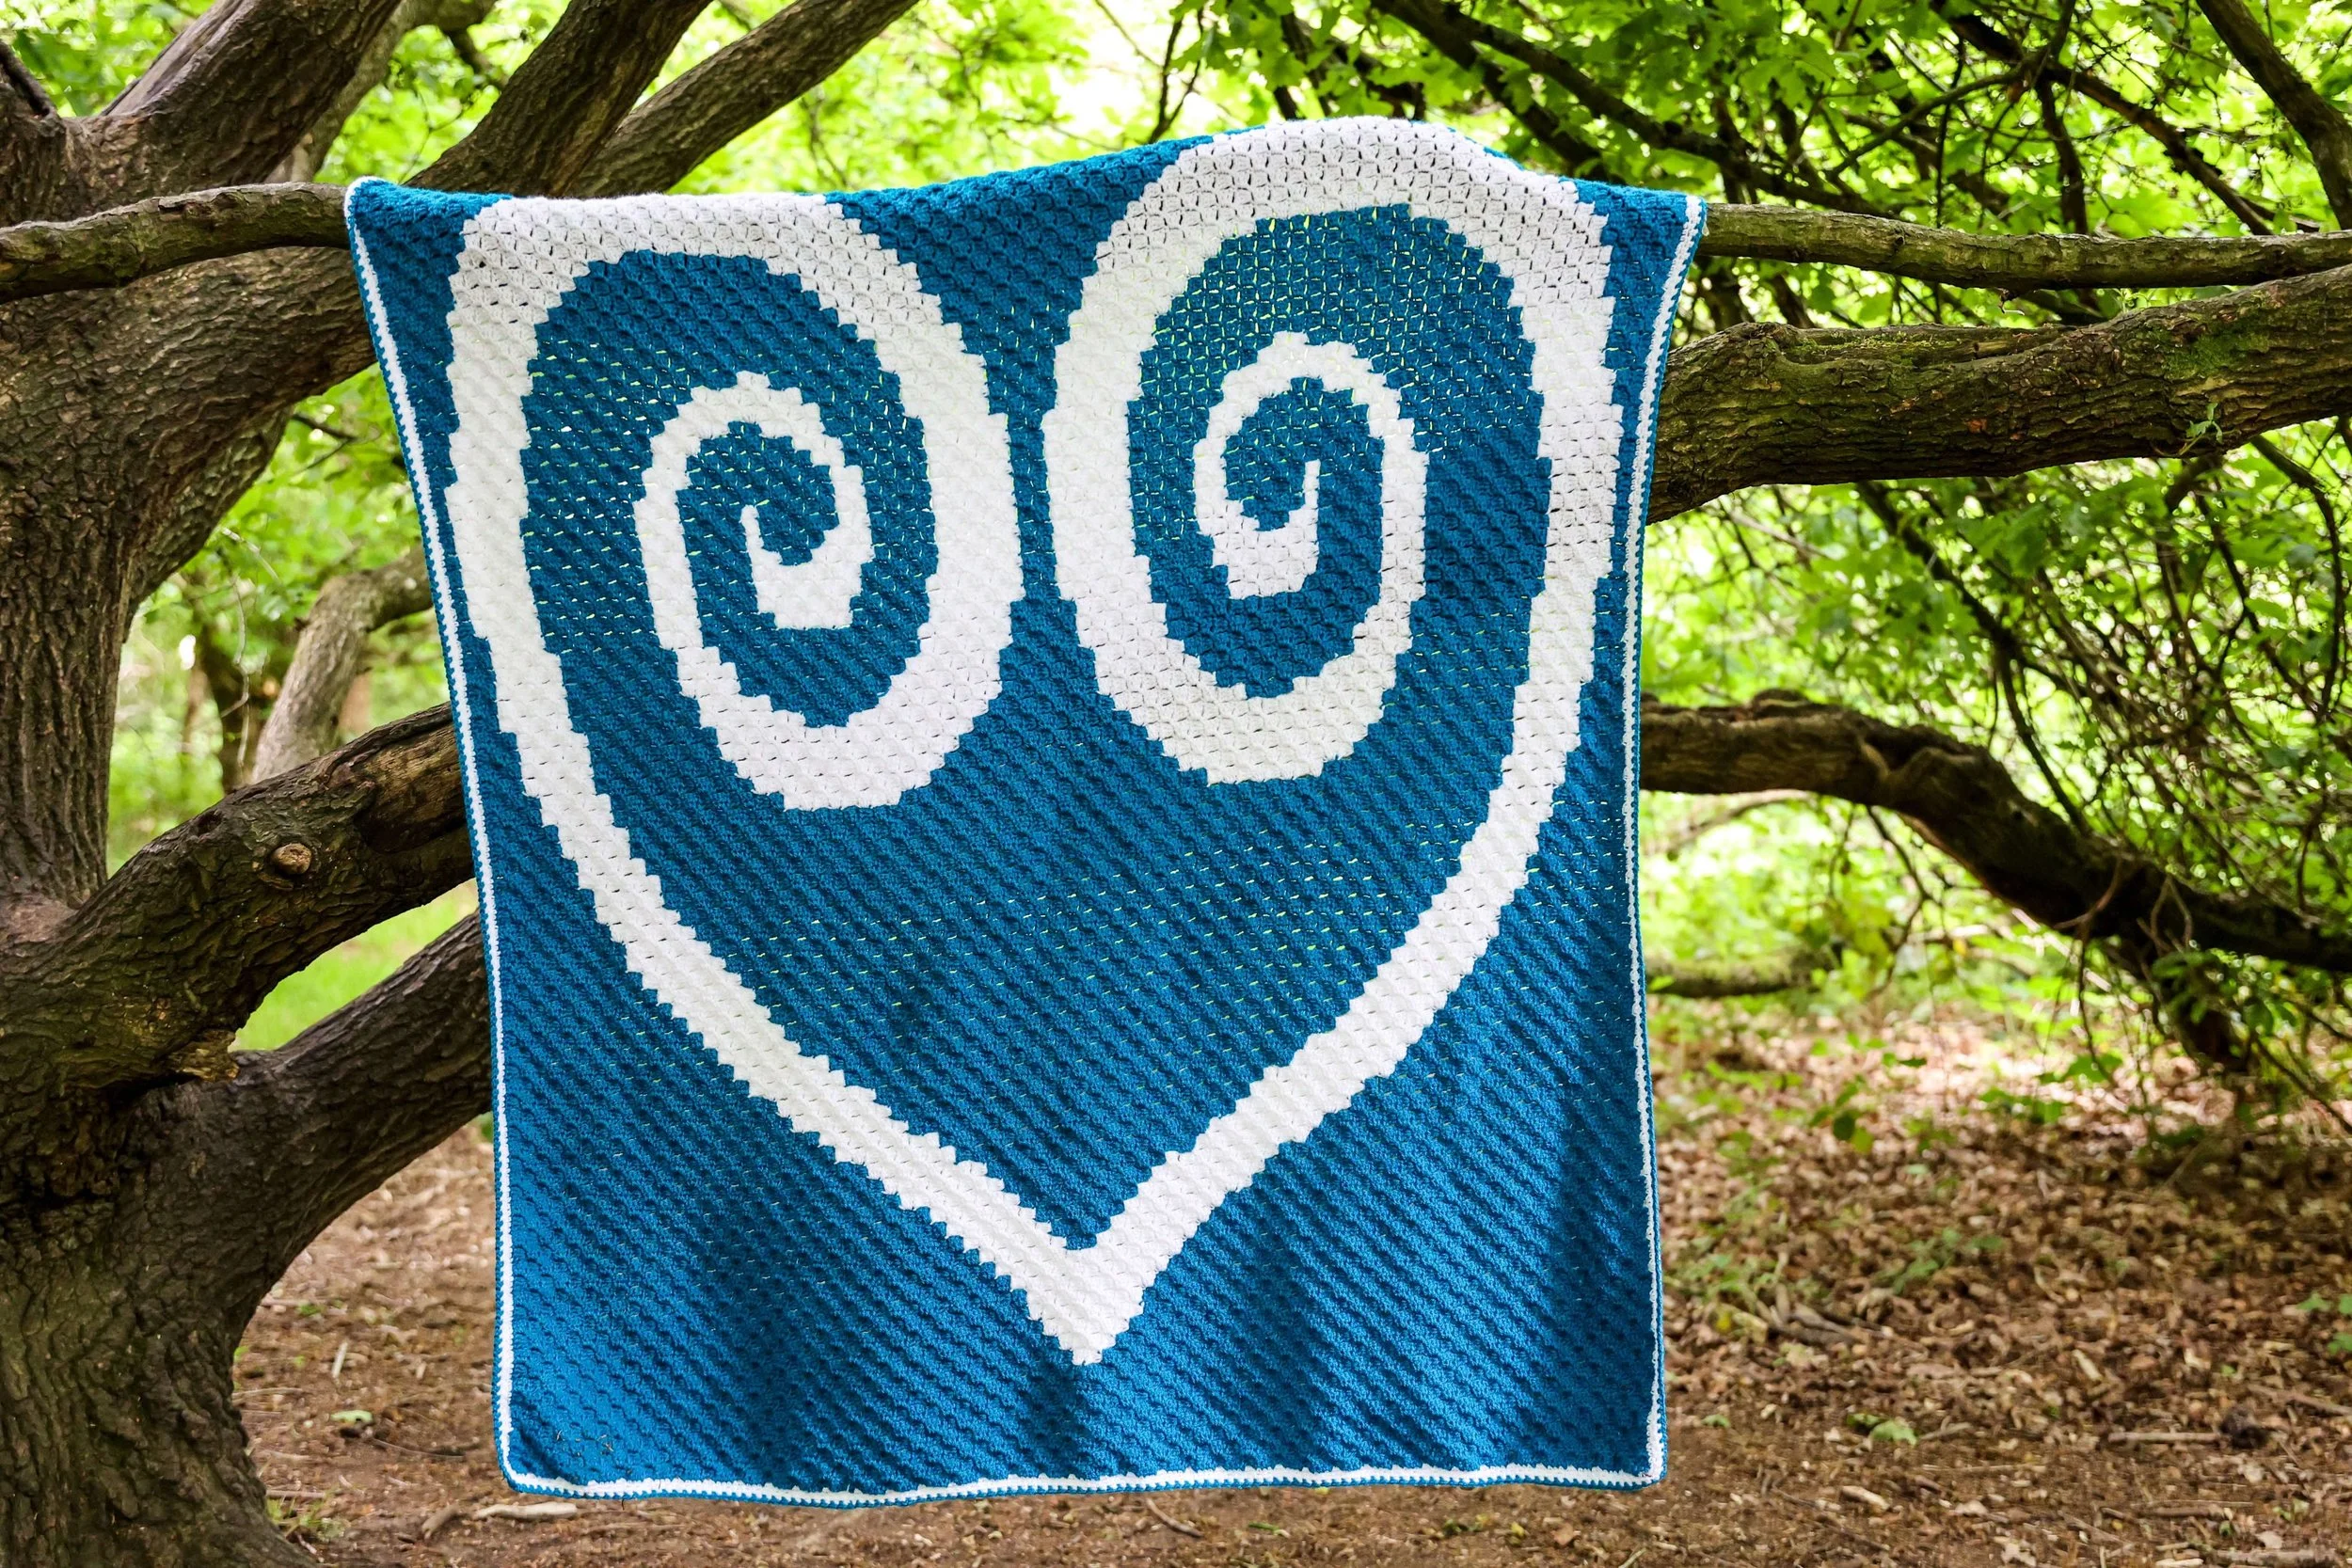
7. To indicate the right/wrong side of your work - when using techniques such as colourwork, it is essential to know on which side to leave your ends. Having a clearly defined front/back to your work will indicate where to leave/weave in your ends, and make your project look that much neater when finished. The photo below demonstrates this use on my Aphrodite C2C Blanket.
Types Of Stitch Markers
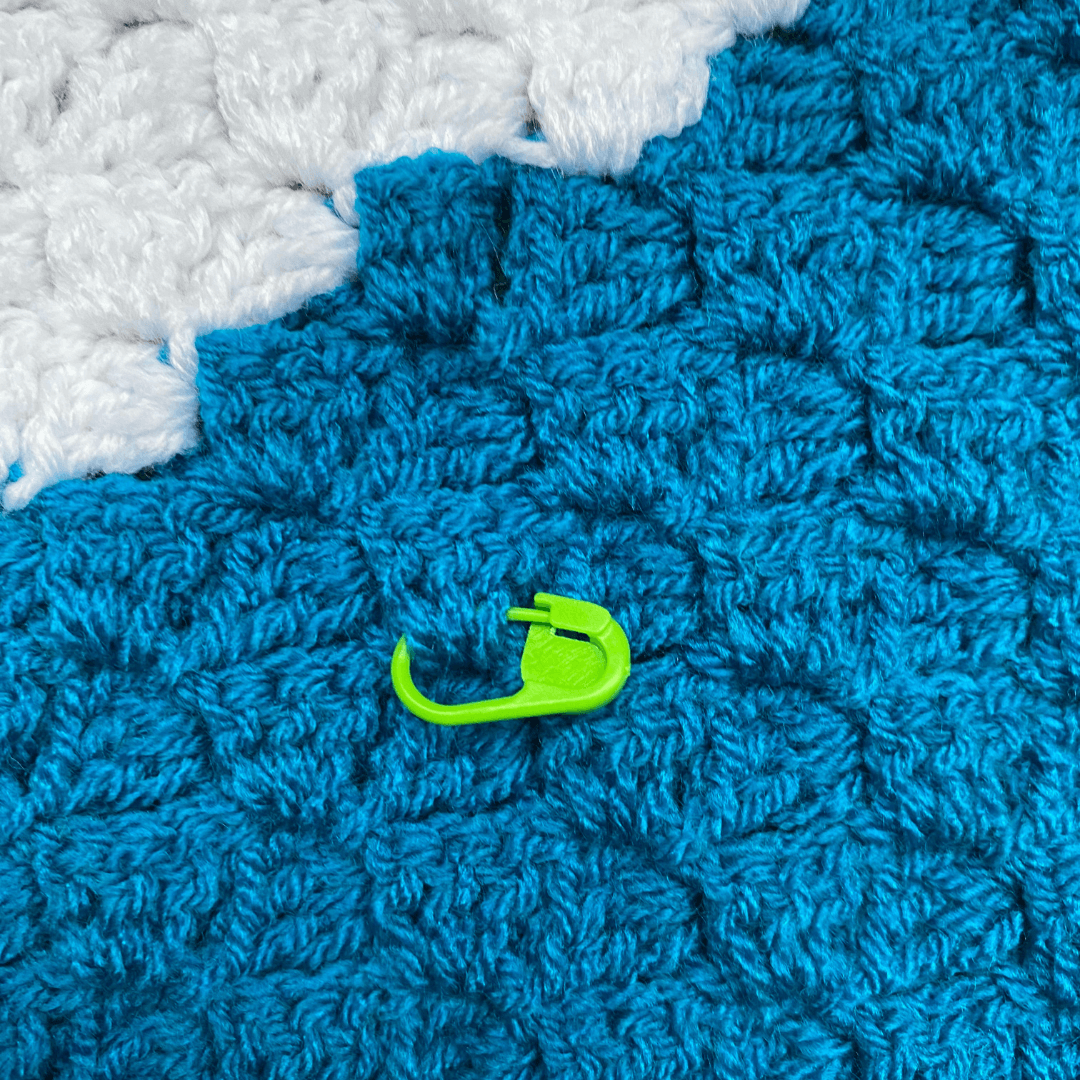
There are many types of stitch markers available. Which one you use is largely down to personal preference. The safety pin style stitch markers photographed above are a more basic option, but work perfectly well. Be sure to pick ones that are smooth and won’t snag your yarn - I particularly like the purple and green set from KnitPro.
Alternatively, there are stitch markers with a lobster clasp. Make sure that you select one with a good sized clasp so that you can use it with all yarn weights and manipulate the clasp easily. Another option are the bulb-shapred stitch markers. As they are very thin, they are easy to slip through even small stitches.
Lastly, there are solid round stitch markers. Please note that these are designed for use when knitting NOT crocheting. Once these are on your work you’ll have to cut them off or frog your work to remove them.
Comment below to let us know which type of stitch marker is your favourite, or which seller’s work you love!
Happy crocheting :)