Beautiful Bugs Blanket - Finishing Touches
Congratulations! You've reached the final stretch in your journey of crafting the Beautiful Bugs Blanket. With each meticulously crocheted square, you've poured creativity and love into your project, and now it's time to add the finishing touches that will make it truly spectacular.
As you prepare to assemble your blanket, envision the joy it will bring to the lucky person who receives it (unless you decide to keep it for yourself - I wouldn’t blame you!). Whether it's a cherished loved one or a special someone receiving your handmade creation, your blanket is sure to be treasured for years to come. I hope you've enjoyed putting your unique spin on this pattern and watching your vision come to life with every stitch.
***This page may include affiliate links - this means that I may earn a small commission if you purchase the product. This is at no additional cost to you. I will only recommend products that I have tried and tested myself, and that I like using. This income helps me to keep designing quality crochet patterns for you.***

For those who prefer written instructions for the joining and border method, they are available by purchasing the full pattern. This comprehensive package includes detailed instructions alongside the graphs for each square.

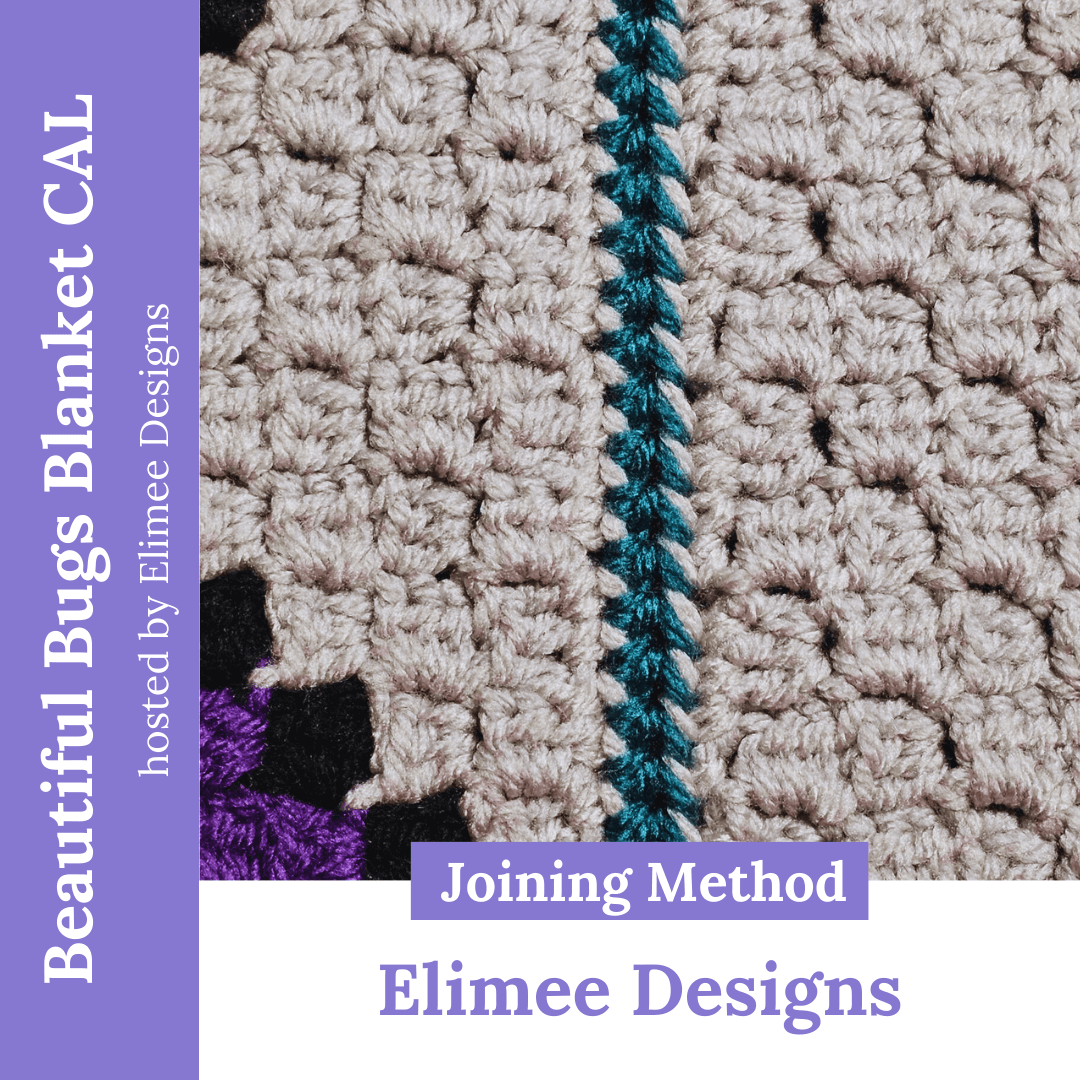
Joining Your Squares

The joining method used for the Beautiful Bugs blanket is the flat half double crochet (hdc) join, perfectly complementing the hdc version of C2C squares.
A full video tutorial can be found here.
Please note that I used a 5mm crochet hook and my selected aran weight yarn to crochet this border.
If the flat hdc join isn’t quite to your liking, I have a video tutorial for the wonderful flat braid join too (as featured in the Festive Hygge Blanket).

If neither of these take your fancy I have a blog post where you can find ‘nine ways to join crocheted squares’.
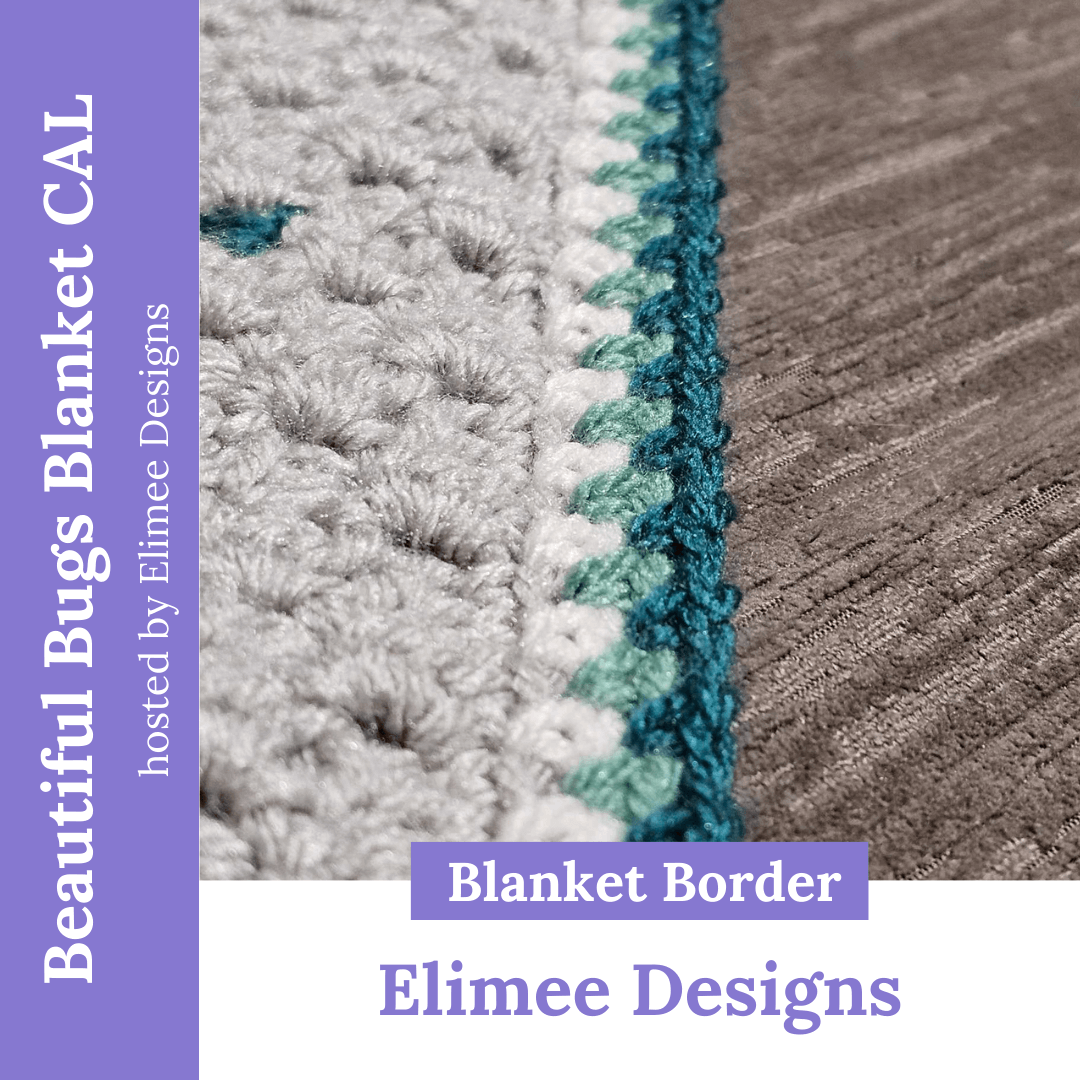
Adding the Border
The border featured on the Beautiful Bugs Blanket is crocheted using moss stitch. A full video tutorial can be found here. I love this border so much that it has been featured in three of my patterns so far!
Please note that I used a 6mm crochet hook and aran weight yarn to crochet the border on mine.
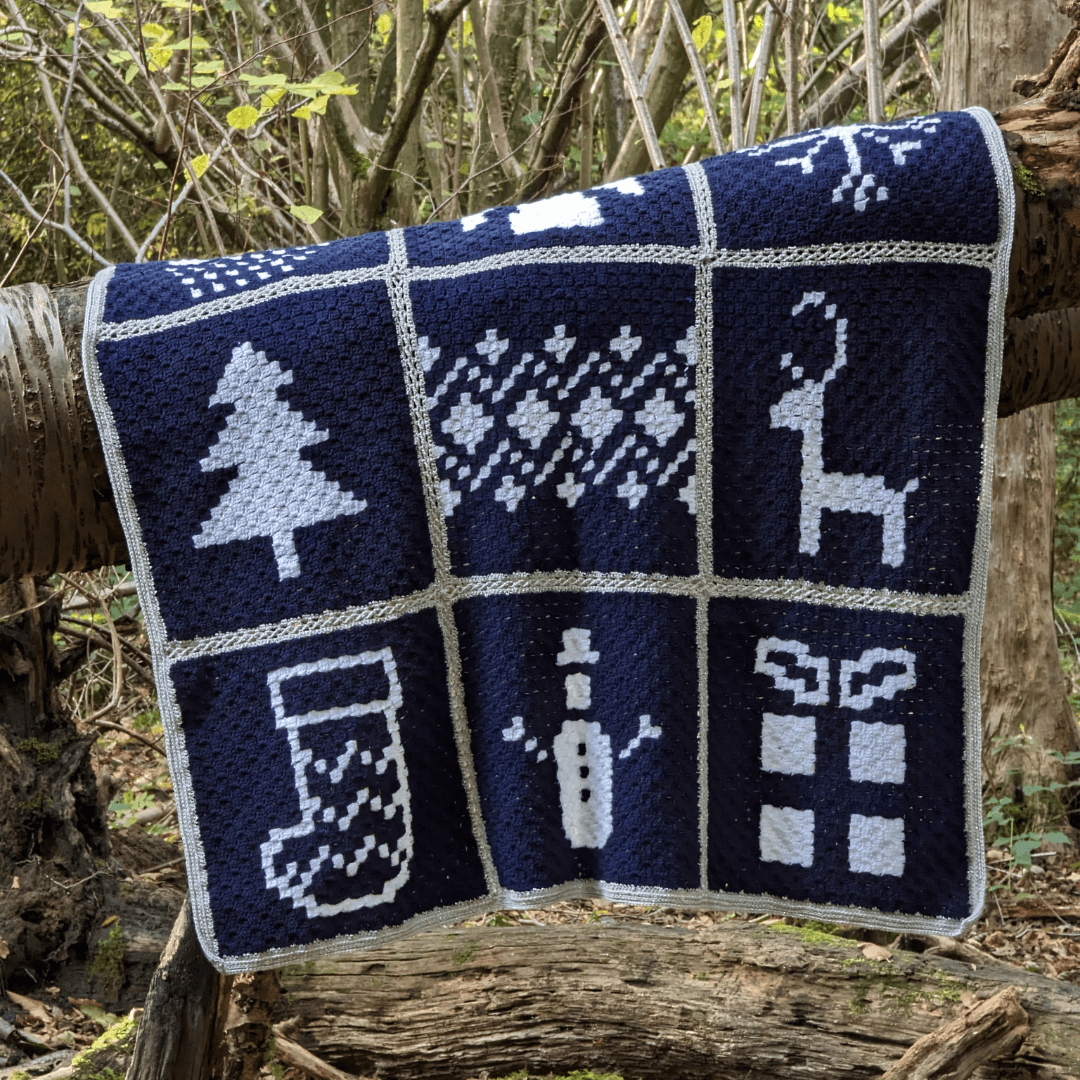
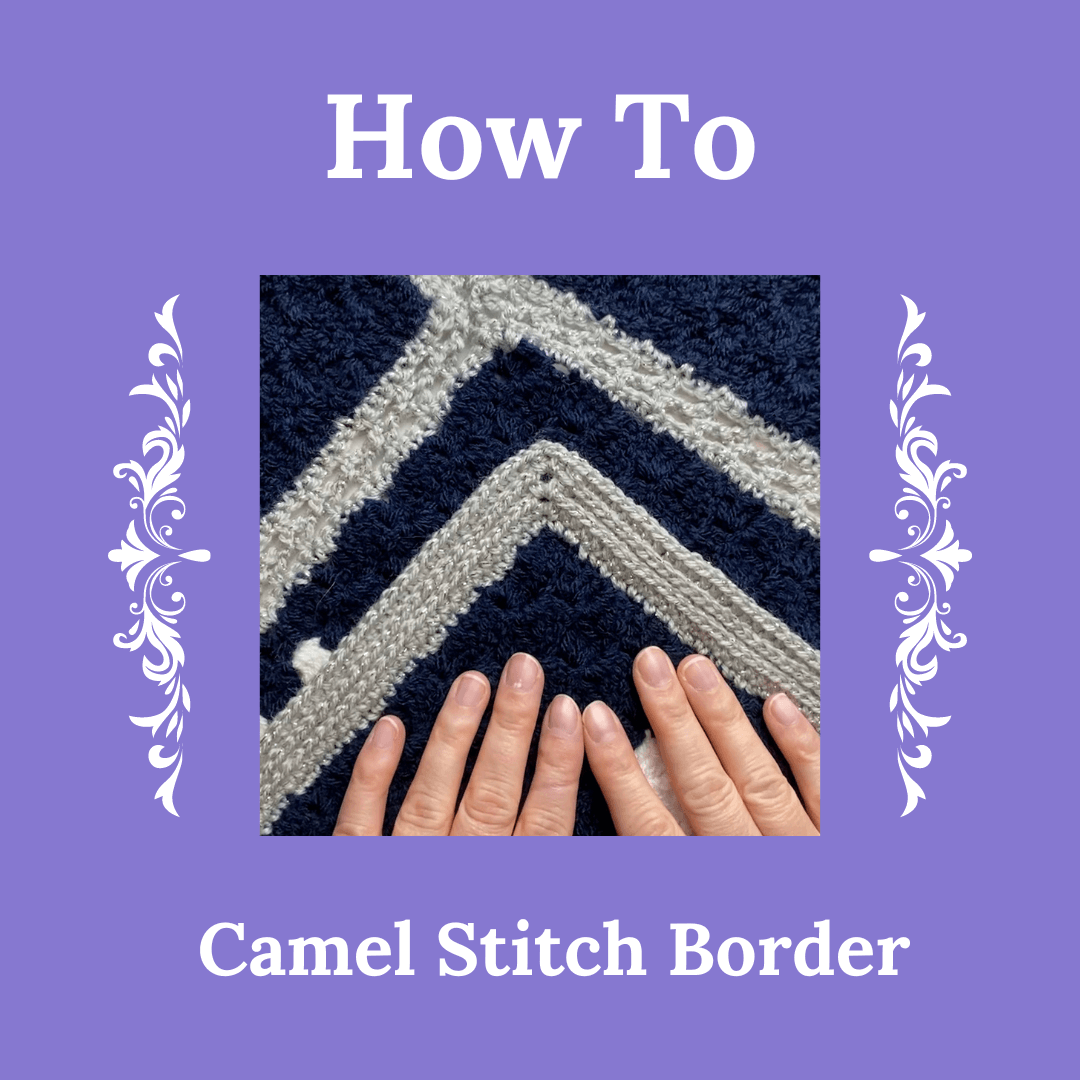
If you fancy something a little different I also have a tutorial for the camel stitch border featured on the right (also from the Festive Hygge Blanket). Enjoy!
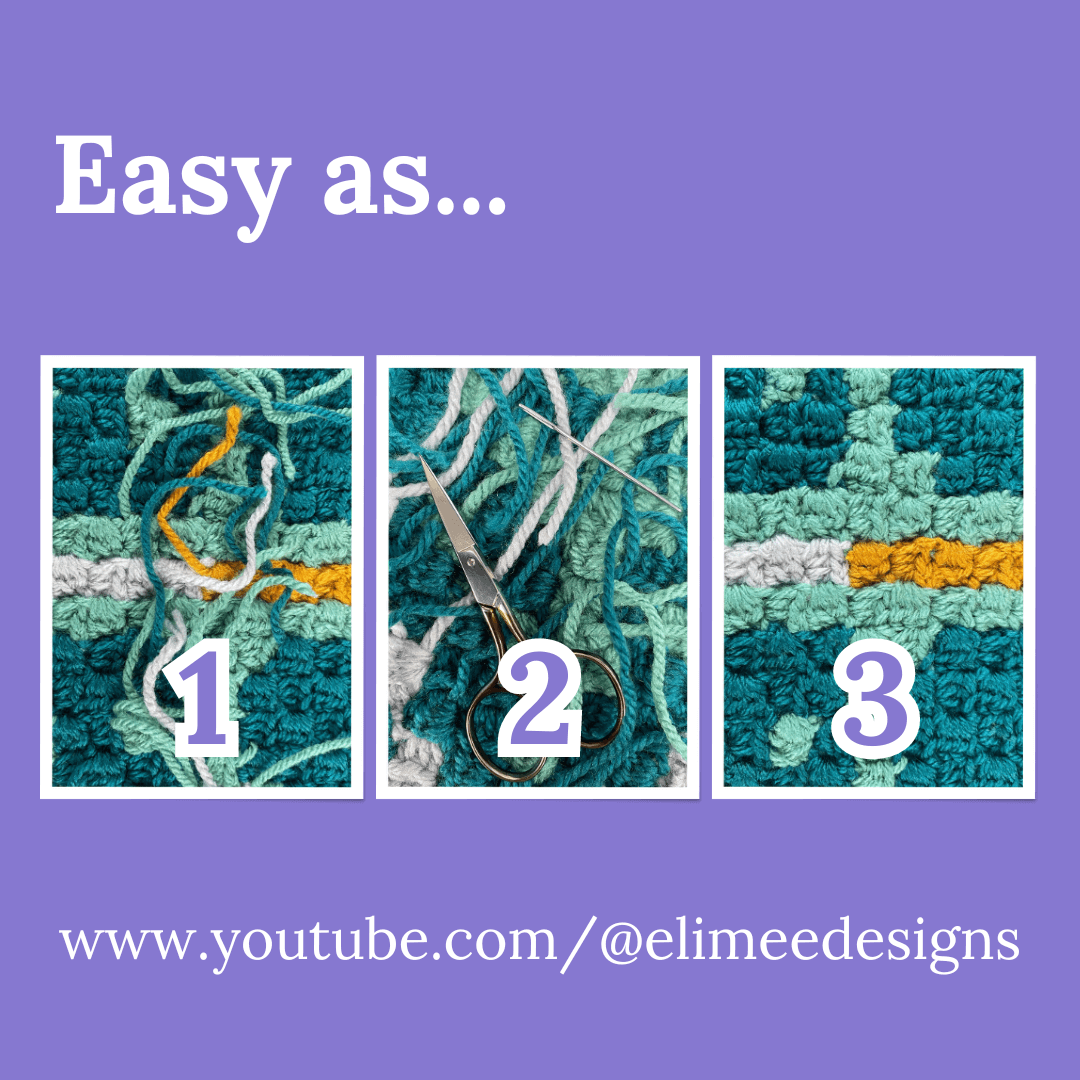
Now simply weave in any remaining ends!
Thank you for joining me on this crochet adventure and participating in the Beautiful Bugs Blanket CAL. Your dedication and creativity have made this journey truly special. I invite you to share your thoughts and experiences of the crochet along (CAL) and Beautiful Bugs Blanket pattern in the comments below.
Whether it's within our Elimee Designs Facebook group, as a project on Ravelry, or shared on social media, I'd also love to see your finished blanket. Don't forget to tag me @elimee_designs on Instagram or @elimeedesigns on Facebook, or use the hashtag #beautifulbugsblanket to help inspire fellow crocheters.
Once again, thank you for your enthusiasm and support. I look forward to embarking on our next CAL adventure together. Stay tuned for more details coming soon!
If you’ve loved taking part in this CAL you’ll love these ones too! Click a photo for more information.