
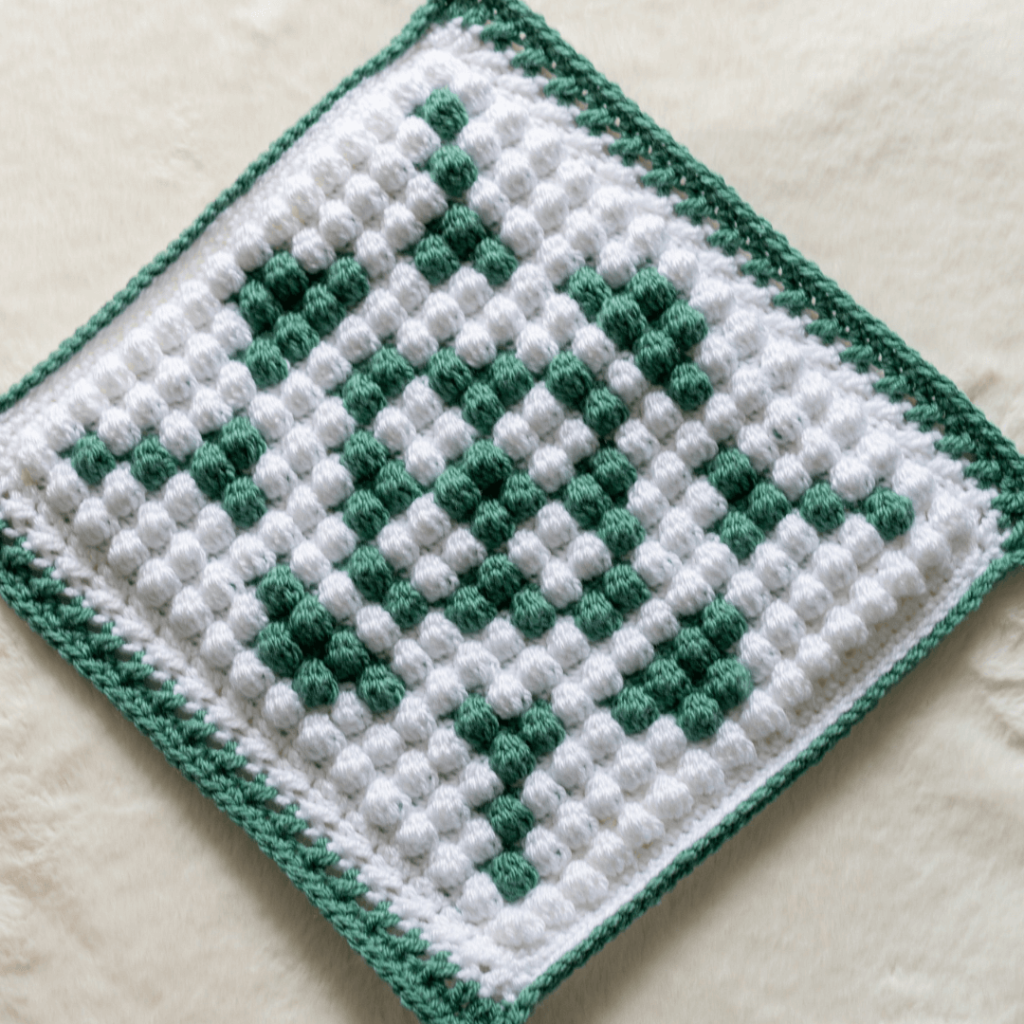
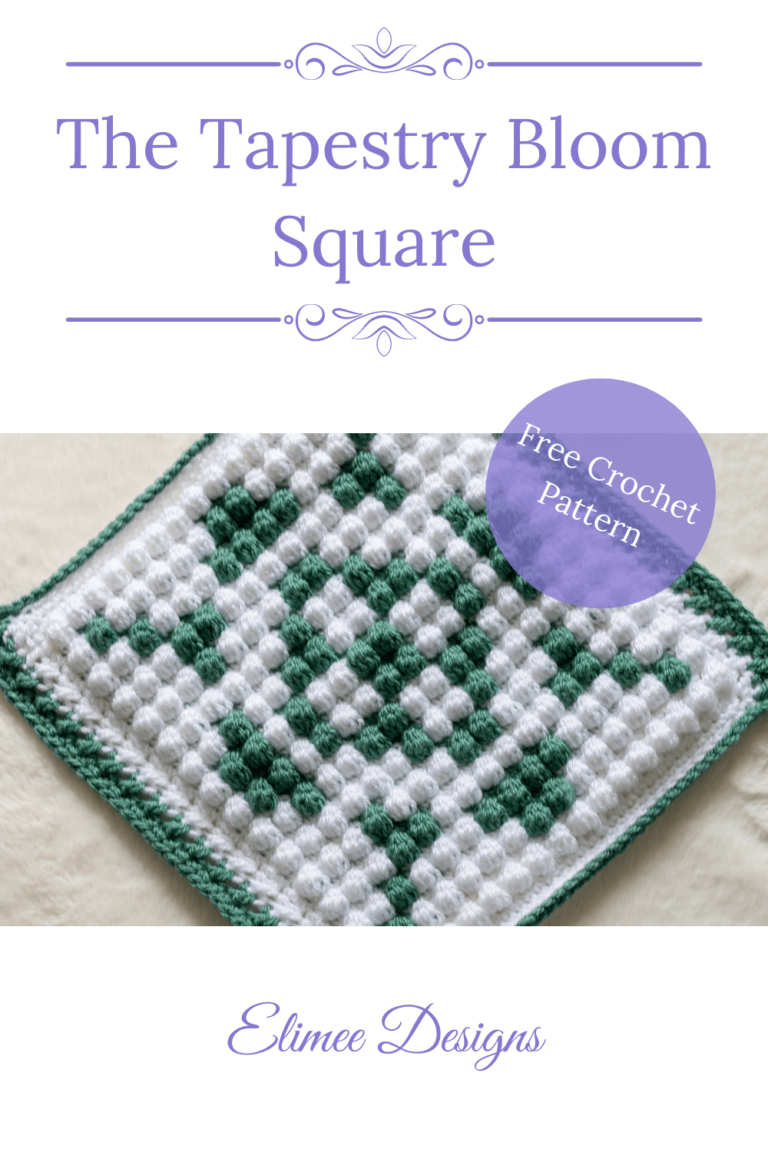
Here it is! My contribution to the 2023 mystery crochet along (CAL) being hosted by The Unraveled Mitten – The Tapestry Bloom Square (it’s FREE!). This stashbusting blanket CAL began in January 2023 – a new square from a different designer has been released every fortnight since. This CAL will continue with a unique square being released every other Thursday until all twenty are available for your crocheting pleasure.
What is a CAL? A CAL is a fantastic community-driven event where participants come together to create the same crochet pattern. It’s a delightful journey that unfolds with each stitch, connecting crocheters from around the globe in a shared creative experience.
Designing the Tapestry Bloom Square crochet blanket square was an interesting journey, filled with ups and downs. The brief was to create a 12-inch square using aran yarn and a 5mm hook – no theme was provided.
As a huge lover of colourwork, I knew that I wanted to incorporate this into my design. While intarsia is my go-to technique, I decided to step out of my comfort zone and offer a design utilising tapestry crochet. It was a fun opportunity to offer my audience something new.
The bobble stitch, with its squishy texture, captured my attention as the perfect partner to the tapestry crochet technique. It was a stitch I hadn’t previously combined with colourwork, making it an exciting challenge to bring to life to this square.
Sketching various motifs, I found myself drawn to the timeless beauty of a flower. However, the irony was not lost on me, given that my green thumb is notoriously absent! Nonetheless, I embraced the simplicity of a floral representation and set out to incorporate it into the square’s design.
However, as any creator knows, the path to releasing a new pattern is rarely straightforward. As I began crocheting the sample, I realised that many adjustments were necessary. I unravelled my work multiple times, experimenting and refining the design until the Tapestry Bloom Square was born.
5 reasons why stashbusting crochet patterns rock!
Rediscover Forgotten Treasures: A stash-busting project breathes new life into those forgotten skeins!
A Thrifty Adventure: By utilising the yarn you already have, you save money whilst embracing the joy of transforming your stash into a work of art.
Unleash Your Creativity: Working with a limited colour palette challenges you to think outside the box, encouraging innovative colour combinations and unexpected surprises.
Sustainable Crafting: Embrace the eco-friendly side of crochet by repurposing unused yarn, reducing waste, and nurturing an environment-conscious approach to your craft.
Sense of Accomplishment: Completing a stash-busting project not only leaves you with a stunning creation but also brings a deep sense of satisfaction in knowing you’ve transformed your stash into something beautiful.
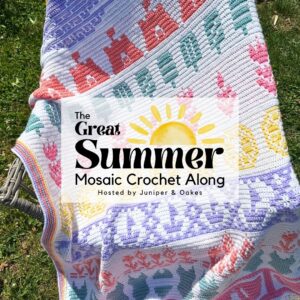
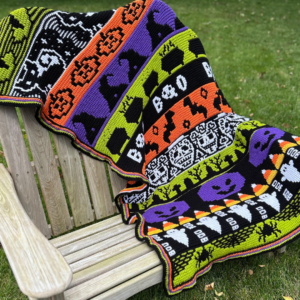
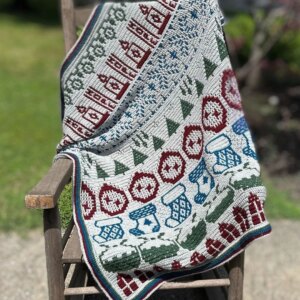
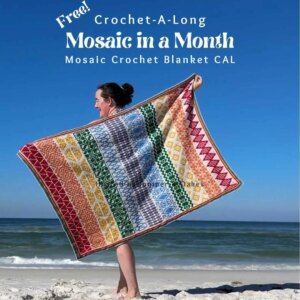
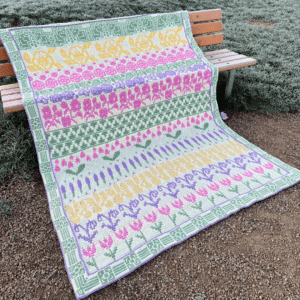
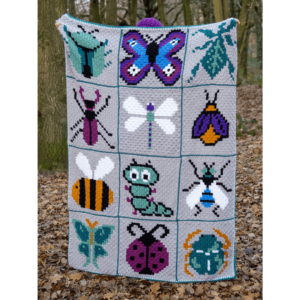
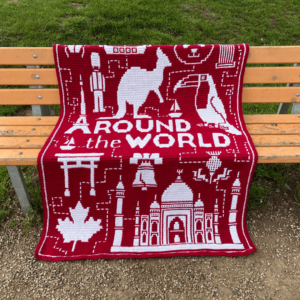
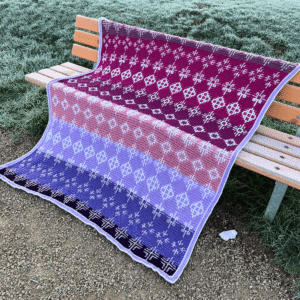
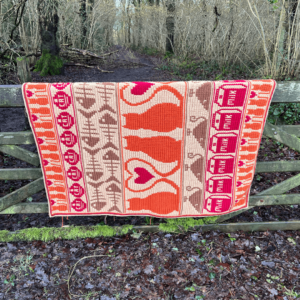
If you love a CAL I have contributed to these ones too! (Click on a photo for more details – they are all FREE).


If you love this pattern, consider showing your love by pinning the image below or adding it to your favourites on Ravelry 😀.
***This page may include affiliate links – this means that I may earn a small commission if you purchase the product. This is at no additional cost to you. I will only recommend products that I have tried and tested myself, and that I like using. This income helps me to keep designing quality crochet patterns for you.***
This pattern is available on Ravelry, Payhip, and LoveCrafts.
The benefits of purchasing the premium PDF include:
Ad-free
Professionally formatted
Printable PDF
Available offline
Unlimited pattern support
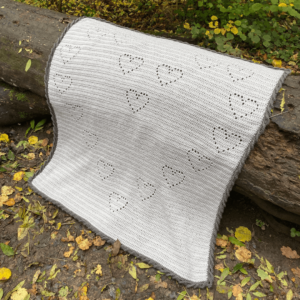
If you love crocheting blankets, you might love one of these too – click on a photo to learn more 😀.
When you are ready to crochet your square you may find these video tutorials handy:
The Pattern
Materials
Yarn – Paintbox Yarns Simply Aran:
Slate green (motif colour) – apx. 63m/69yds
Paper white (background colour) – apx. 128m/139yds
5mm/H-8 crochet hook
Stitch markers (optional)
Row counter (optional)
Gauge
A 10cm (4 inch) square requires 6 rows of 6.75 bobble stitches.
Difficulty level
Advanced beginner
Abbreviations
rpt = repeat
st = stitch
sk = skip
ch = chain
sc = single crochet
fsc = foundation single crochet
dc = double crochet
hdc = half double crochet
slst = slip stitch
fo = fasten off
rs = right side
Special stitches
Bobble stitch – *yarn over, insert hook into st, pull up a loop, yarn over and pull through 2 loops*, rpt * to * 3 more times, yarn over and pull through the remaining 5 loops.
Crossed dc – sk1 dc, dc into the sk st
Pattern Instructions
I recommend that you read through the entire pattern before starting to ensure that you understand what to do at each stage. If at any point you get stuck or would like clarification, please feel free to reach out to us – we are always happy to help!
Please note that this pattern is written in US crochet terms.
All stitches are to be worked into both loops (unless otherwise specified).
Each row of the bobble st motif contains 33st.
Ch1 and turn at the start of every row. This does NOT count as a stitch.
A = background colour, B = motif colour.
Main motif
Row 1 – 33fsc in colour A
Alternatively, ch34, sc into each st starting from the 2nd ch from the hook [33 st]
Row 2 – *sc, bobble* 16 times following the colour changes on row 1 of the chart below (i.e. 16A), sc in colour A
Row 3 – 32sc following the colour changes on row 1 of the chart below (i.e. 16A), sc in colour A
Row 4 – *sc, bobble* 16 times following the colour changes on row 2 of the chart below (i.e. 1A, 1B, 5A, 2B, 5A, 1B, 1A), sc in colour A
Row 5 – 32sc following the colour changes on row 2 of the chart below (i.e. 1A, 1B, 5A, 2B, 5A, 1B, 1A), sc in colour A
Row 6 – *sc, bobble* 16 times following the colour changes on row 3 of the chart below (i.e. 2A, 1B, 3A, 4B, 3A, 1B, 2A), sc in colour A
Row 7 – 32sc following the colour changes on row 3 of the chart below (i.e. 2A, 1B, 3A, 4B, 3A, 1B, 2A), sc in colour A
Row 8 – *sc, bobble* 16 times following the colour changes on row 4 of the chart below (i.e. 3A, 2B, 6A, 2B, 3A), sc in colour A
Row 9 – 32sc following the colour changes on row 4 of the chart below (i.e. 3A, 2B, 6A, 2B, 3A), sc in colour A
Row 10 – *sc, bobble* 16 times following the colour changes on row 5 of the chart below (i.e. 3A, 1B, 3A, 2B, 3A, 1B, 3A), sc in colour A
Row 11 – 32sc following the colour changes on row 5 of the chart below (i.e. 3A, 1B, 3A, 2B, 3A, 1B, 3A), sc in colour A
Row 12 – *sc, bobble* 16 times following the colour changes on row 6 of the chart below (i.e. 6A, 1B, 2A, 1B, 6A), sc in colour A
Row 13 – 32sc following the colour changes on row 6 of the chart below (i.e. 6A, 1B, 2A, 1B, 6A), sc in colour A
Row 14 – *sc, bobble* 16 times following the colour changes on row 7 of the chart below (i.e. 2A, 1B, 2A, 2B, 2A, 2B, 2A, 1B, 2A), sc in colour A
Row 15 – 32sc following the colour changes on row 7 of the chart below (i.e. 2A, 1B, 2A, 2B, 2A, 2B, 2A, 1B, 2A), sc in colour A
Row 16 – *sc, bobble* 16 times following the colour changes on row 8 of the chart below (i.e. 1A, 2B, 1A, 1B, 2A, 2B, 2A, 1B, 1A, 2B, 1A), sc in colour A
Row 17 – 32sc following the colour changes on row 8 of the chart below (i.e. 1A, 2B, 1A, 1B, 2A, 2B, 2A, 1B, 1A, 2B, 1A), sc in colour A
Row 18 – *sc, bobble* 16 times following the colour changes on row 9 of the chart below (i.e. 1A, 2B, 1A, 1B, 2A, 2B, 2A, 1B, 1A, 2B, 1A), sc in colour A
Row 19 – 32sc following the colour changes on row 9 of the chart below (i.e. 1A, 2B, 1A, 1B, 2A, 2B, 2A, 1B, 1A, 2B, 1A), sc in colour A
Row 20 – *sc, bobble* 16 times following the colour changes on row 10 of the chart below (i.e. 2A, 1B, 2A, 2B, 2A, 2B, 2A, 1B, 2A), sc in colour A
Row 21 – 32sc following the colour changes on row 10 of the chart below (i.e. 2A, 1B, 2A, 2B, 2A, 2B, 2A, 1B, 2A), sc in colour A
Row 22 – *sc, bobble* 16 times following the colour changes on row 11 of the chart below (i.e. 6A, 1B, 2A, 1B, 6A), sc in colour A
Row 23 – 32sc following the colour changes on row 11 of the chart below (i.e. 6A, 1B, 2A, 1B, 6A), sc in colour A
Row 24 – *sc, bobble* 16 times following the colour changes on row 12 of the chart below (i.e. 3A, 1B, 3A, 2B, 3A, 1B, 3A), sc in colour A
Row 25 – 32sc following the colour changes on row 12 of the chart below (i.e. 3A, 1B, 3A, 2B, 3A, 1B, 3A), sc in colour A
Row 26 – *sc, bobble* 16 times following the colour changes on row 13 of the chart below (i.e. 3A, 2B, 6A, 2B, 3A), sc in colour A
Row 27 – 32sc following the colour changes on row 13 of the chart below (i.e. 3A, 2B, 6A, 2B, 3A), sc in colour A
Row 28 – *sc, bobble* 16 times following the colour changes on row 14 of the chart below (i.e. 2A, 1B, 3A, 4B, 3A, 1B, 2A), sc in colour A
Row 29 – 32sc following the colour changes on row 14 of the chart below (i.e. 2A, 1B, 3A, 4B, 3A, 1B, 2A), sc in colour A
Row 30 – *sc, bobble* 16 times following the colour changes on row 15 of the chart below (i.e. 1A, 1B, 5A, 2B, 5A, 1B, 1A), sc in colour A
Row 31 – 32sc following the colour changes on row 15 of the chart below (i.e. 1A, 1B, 5A, 2B, 5A, 1B, 1A), sc in colour A
Row 32 – *sc, bobble* 16 times following the colour changes on row 16 of the chart below (i.e. 16A), sc in colour A
Row 33 – 32sc following the colour changes on row 16 of the chart below (i.e. 16A), sc in colour A
Fo and weave in your ends.
Bobble stitch motif panel
Each square represents a sc + bobble st for a bobble st row, or 2sc for a sc row, in the indicated colour.

Border
Round 1 – with the rs facing you, attach colour A to the top right corner of your work (your work should be oriented as per the graph above). Ch1, sc into each st, *place a total of 3sc into the corner st*, 2sc into the side of each bobble st, rpt * to *, sc into each st, rpt * to *, 2sc into the side of each bobble st, rpt * to *, slst into the 1st st of the round. [33 st per side + 4 corner st]
Round 2 – ch1, slst into each st. Sc, hdc, dc into the corner st. *Sk1 dc, dc into the sk st* (i.e. crossed dc), rpt * to * along the side, dc into the final st (as odd number of st). Dc, hdc, sc into the corner st. Slst into each st. Sc, hdc, dc into the corner st. Work crossed dc along the side, dc into the final st (as odd number of st). Dc, hdc, sc into the corner st. Slst into the first st of the round. [35st per side + 4 corner st]
Fo and weave in your ends.
Round 3 – with the rs facing you, attach colour B into the top right corner st of your work. Ch1, sc. Slst into each st. Sc, hdc, dc into the corner st. Work crossed dc along the side, dc into the final st (as odd number of st). Dc, hdc, sc into the corner st. Slst into each st. Sc, hdc, dc into the corner st. Work crossed dc along the side, dc into the final st (as odd number of st). Dc, hdc, sc into the corner st. Slst into the first st of the round. [37st per side + 4 corner st]
Round 4 – ch1. Slst into each st. *3sc into the corner sc*. Sc into each st along the side. Rpt * to *. Slst into each st. Rpt * to *. Sc into each st along the side. Rpt * to *. Slst into the first st of the round. [39st per side + 4 corner st]
Fo and weave in your ends.
Congratulations on making your Tapestry Bloom Square 😊
Please use the hashtag #tapestrybloomsquare or #elimeedesigns, or tag me (@elimee_designs on Instagram or @elimeedesigns on Facebook) so that I can see your finished square too, and show it some much deserved love!
Safety Notices
The following has been added as per the new General Product Safety Regulation update December 2024, from the EU Commission.
Safety Disclaimer for Crochet Patterns
Crocheting blankets, accessories, garments, decor, or other crochet products is a fun and rewarding craft. However, it’s essential to follow every step of the pattern carefully to ensure that the finished product is both functional and safe. Please note that, as with any handmade item, there are inherent risks when recreating these patterns. By following all instructions closely and taking appropriate safety measures, you can minimize potential hazards.
Safety with Young Children, Animals, and Adults
- Always use child- and pet-safe materials when creating items for children or pets, particularly for toys, blankets, or any item likely to be chewed, pulled, or handled roughly.
- Ensure the final product is properly constructed, with securely fastened joins and woven-in ends, to prevent unravelling or loose threads that could pose a choking or entanglement hazard.
- For small embellishments such as buttons or beads, avoid their use on items intended for children under three years old or pets, as these can present choking hazards.
Blanket Safety for Babies
- Temperature Regulation: Babies are not as effective at regulating their temperature, and overheating increases the risk of Sudden Infant Death Syndrome (SIDS). When creating blankets for babies, consider the yarn’s warmth and breathability to ensure it is suitable for the intended environment.
- Safe Sleeping Guidance: Blankets should be tucked no higher than the baby’s shoulders, and their feet should be placed at the end of the crib or bed. This minimizes the risk of the baby’s face becoming covered by loose bedding.
- For further advice, refer to the safe sleeping guidelines provided by The Lullaby Trust.
Handling Tools Safely
- When working with sharp tools such as scissors, sewing needles, or crochet hooks, handle them carefully and keep them out of reach of children and pets.
- Accidental cuts or injuries can occur if tools are not used properly. Always store tools safely when not in use, ensuring they are secured in a suitable storage container or area.
Important Note
By purchasing and using this pattern, you acknowledge that you are responsible for the construction, use, and safety of the completed item. I am not liable for any accidents, injuries, or damages caused by the finished product or the tools used during its creation. This includes, but is not limited to, blankets, accessories, garments, decor items, or other crochet creations, whether for children, adults, or animals.
GPSR Contact Details
Elimee Designs EU/NI Representative
Ciara Doyle, C15 Y5F9, Ireland
Elimee Designs (Designer)
N. Griffiths, 435, LE10 0NF, England.
The Fine Print
Please note that all written patterns from Elimee Designs are non-refundable.
If you have any questions or suggestions regarding this pattern please feel free to contact us via hello@elimeedesigns.co.uk or our Elimee Designs Crochet Pattern group on Facebook.
Top tip
I recommend blocking your squares before joining them together – this will help to give your square straighter edges and a cleaner finish. If you’d like tips on blocking, or to see the tools that I use, check out these blog posts:
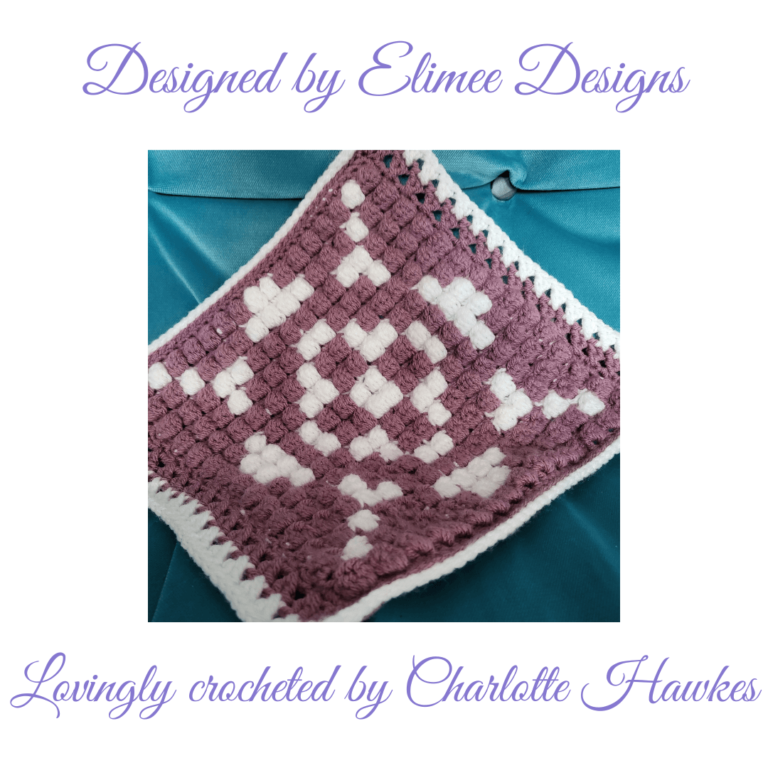
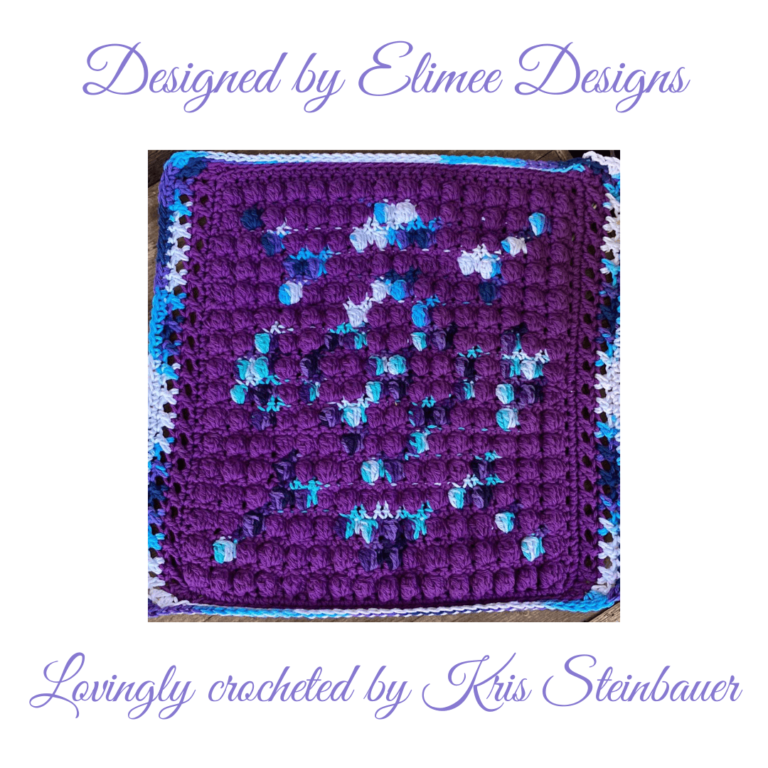
I’d also like to take this opportunity to give some love to our fabulous crochet pattern testers who helped us to iron out the kinks in this pattern.
An ENORMOUS thank you goes out to Kris and Charlotte.
If you’d like to be notified when our next pattern goes into testing simply sign up below, or click HERE to learn more about becoming a crochet pattern tester.
Future Pattern Testers!
Sign-up to receive our newsletter and future pattern tester calls 😀.
Thank you!
If your welcome email does not arrive in the next few minutes please contact me at hello@elimeedesigns.co.uk
2 Responses
I love the look of your Tapestry Bloom Square such a beautiful pattern. Look forward to making the Square to incorporate into a blanket I am working on. You have many beautiful designs.
That is so lovely to hear. Who are you making the blanket for?