
Top 10 Tips - How To Photograph Your Crochet Projects
Many crafters like to share photos of their work. Be it a WIP or a finished item, we all want our work to look it’s best. Taking high quality photos of our crochet projects need not be down to luck or chance, but can be reliably achieved by employing a number of proven techniques. Check out our top ten tips below to help you make the most of your photoshoots, and show the world just how amazing your crocheted items are! Your hard work deserves to be admired.
If you’d like to be able to come back to this blog post later, why not pin the image below.
***This page may include affiliate links - this means that I may earn a small commission if you purchase the product. This is at no additional cost to you. I will only recommend products that I have tried and tested myself, and that I like using. This income helps me to keep designing quality crochet patterns for you.***
If you’d like to be kept up-to-date about our future blog posts, pattern releases, promotions, giveaways and more, I highly recommend signing up to our newsletter below. Our newsletter is the only foolproof way to hear about everything that we have on offer!
Top 10 Photography Tips
Background - ideally, your crochet project should remain the centre of attention within a photo. It is recommended that you avoid distracting backgrounds that would draw the eye away from your gorgeous crochet creations. This is usually achieved using a plain and clutter-free background. In some situations this may not be possible, however you should try to avoid clashes of colour, patterned backgrounds etc. Regardless of your choice, it is also possible to minimise any distraction caused by your background through other means e.g. by using a shallow depth of field when taking your photos - this will cause blurring of the background, whilst your project remains in focus.
Examples of non-distracting backgrounds include:
- plain walls/fences around your home
- a blank piece of paper or poster board
- plain flooring (or the appearance of such e.g. vinyl flooring offcuts, wallpaper samples
Lighting - natural lighting is the best option! If you are photographing your projects indoors you should place them near a window that receives good natural light. Whether your photos are being taken indoors or outdoors, indirect sunlight is more flattering that direct - it will appear less harsh and show your work to it’s best advantage. You may achieve this by taking photos on an overcast day, in the shade, or during the golden hours of dawn or dusk.
If you must use artificial lighting:
- use white rather than yellow light
- use multiple light sources/reflectors to reduce shadows
- take your photos during the day to maximise any supplementary natural light sources
Staging - sometimes it is best to allow your project to shine alone; other times it looks better alongside props. For example, in the photograph below, I felt that the baskets looked better filled to demonstrate their function. Likewise, a scarf may look better being worn, or a blanket draped over a bed or chair. It may take you some time to decide whether you prefer flat lays, modelled photos, the presence or absence of props etc… try them all before you decide on your style!

Photo featuring the Scraptacular Baskets.

Photo featuring the Caitlin Zigzag Scarf.
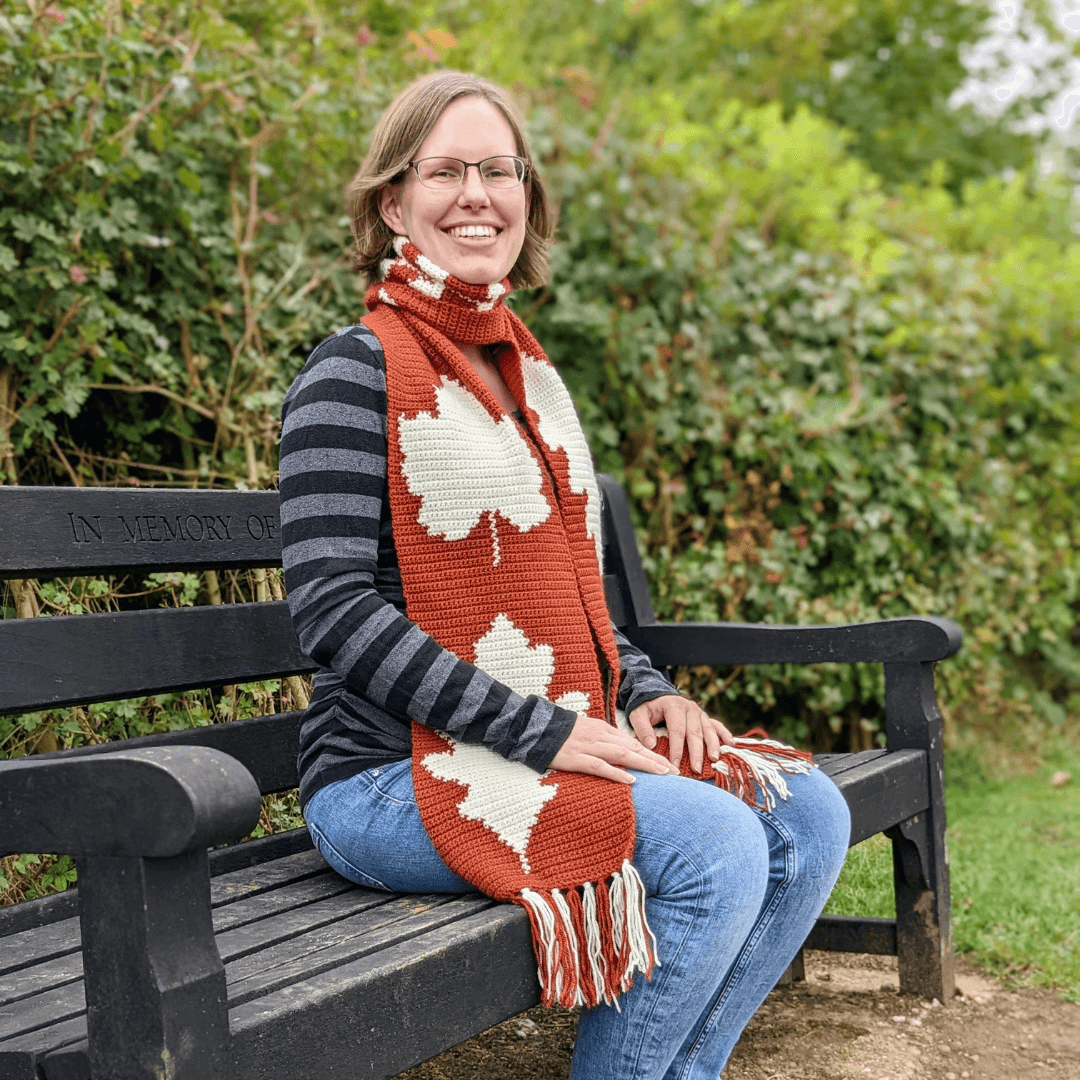
Photo featuring the British Leaves Autumnal Scarf.
4. Orientation - it is beneficial to take a variety of horizontal and portrait photos. If you are planning on sharing your photos on social media, each platform has their own prefernce on file size, orientation etc. Having a variety of photos to select from will provide you with plenty of options to choose from. Additionally, try to take photos of your work from several different angles - you never know which will show your project in it’s best light.

Photos featuring the Waggle Dance Bee Blanket.
5. Composition - how you place your project within your viewfinder can significantly affect how it is perceived. There are a number of long-known techniques that can aid the effectiveness of your composition e.g. the rule of thirds, natural framing, layers (some of which are demonstrated below).
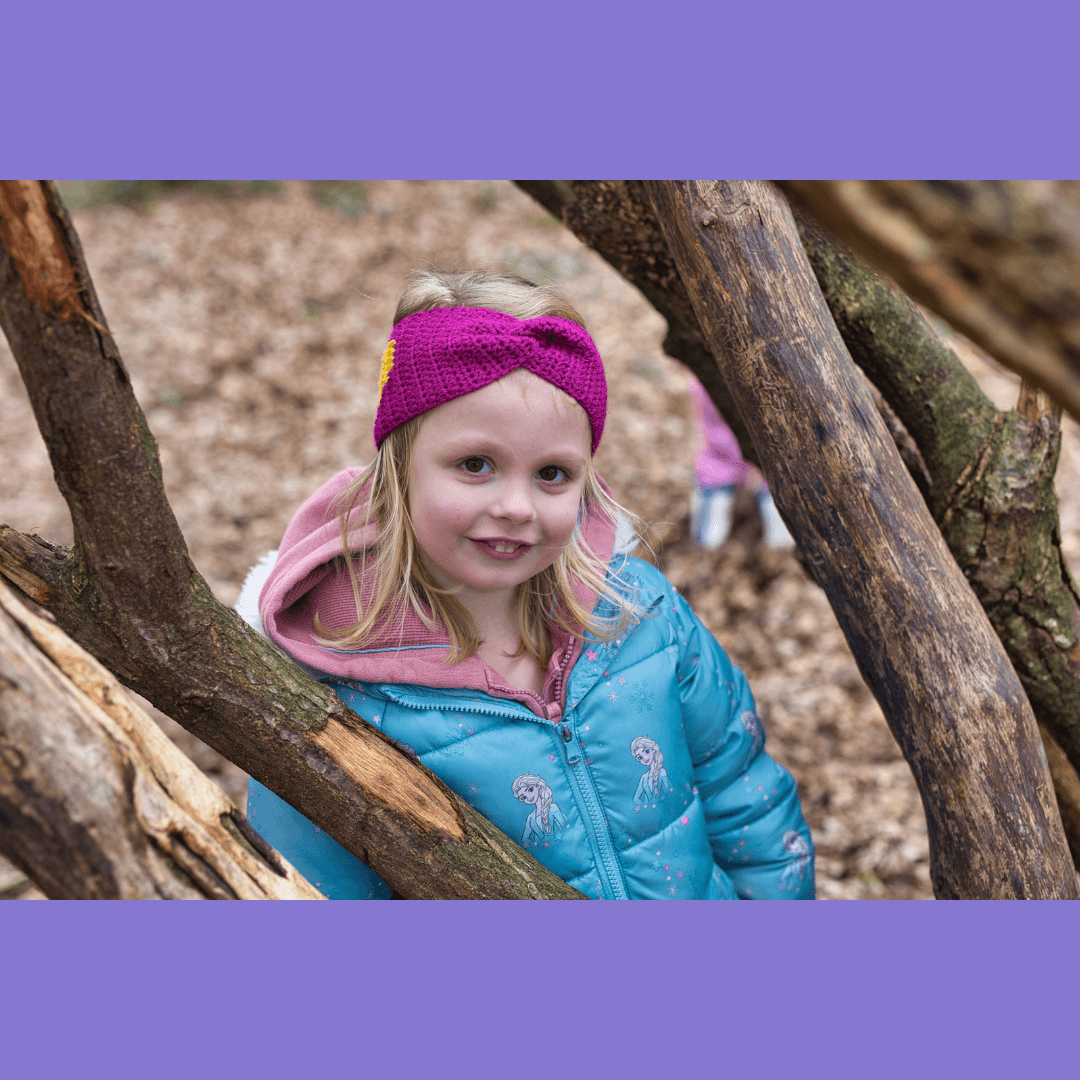
Photo featuring the Twisted Trio Ear Warmer.

Photo featuring the Twisted Trio Ear Warmer and Caitlin Zigzag Scarf.
6. Camera - whilst your choice of camera does have an effect on your photos, you can take equally amazing photos with both your phone or an expensive DSLR. By utilising some of the other tips discussed within this blog post you can often overcome any deficiencies of using less-expensive equipment. Below, the Caitlin Zigzag Scarf was photographed using a phone camera, whereas the Mariposa Butterfly Blanket was photographed using a DSLR. Which do you prefer?
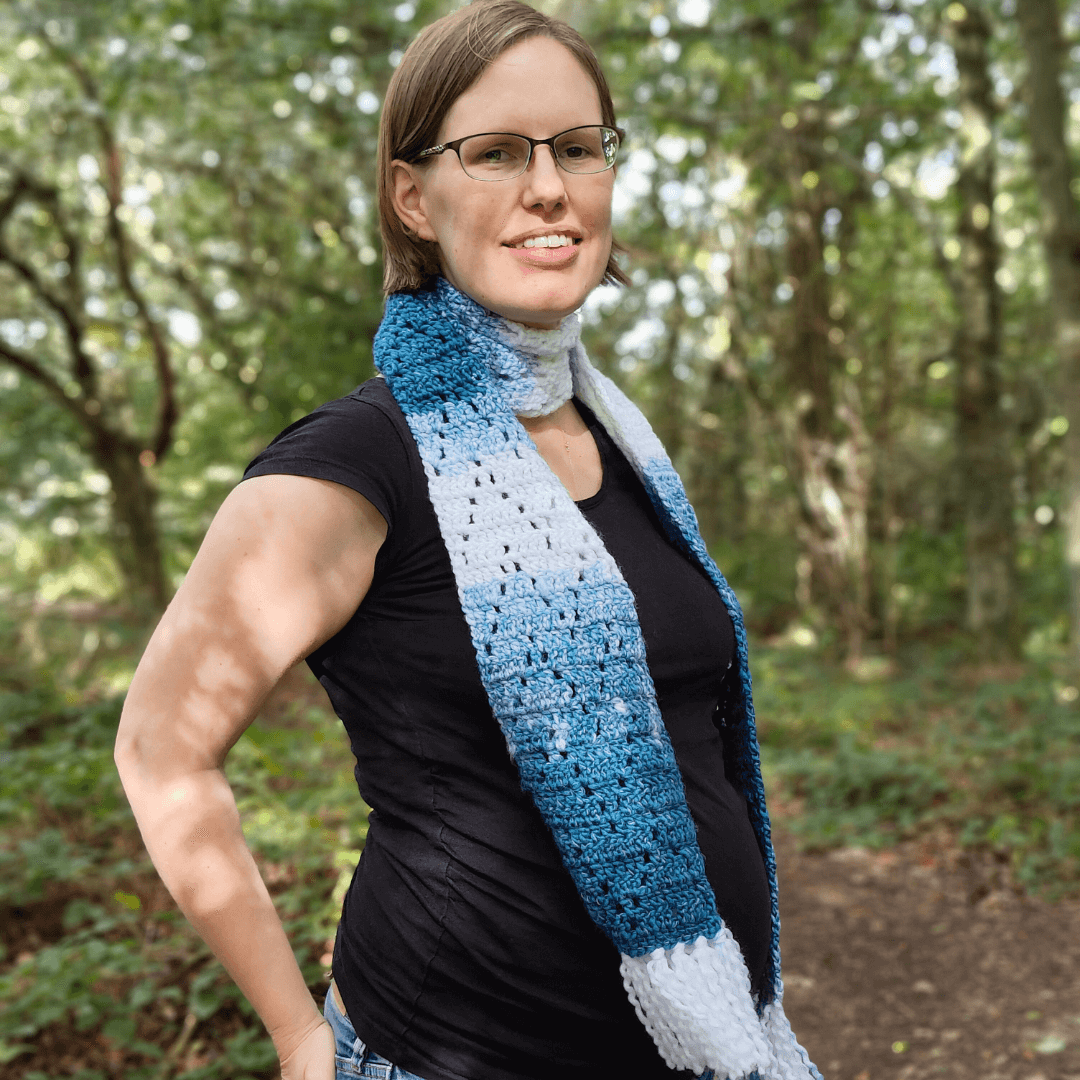
Photo featuring the Caitlin Zigzag Scarf.
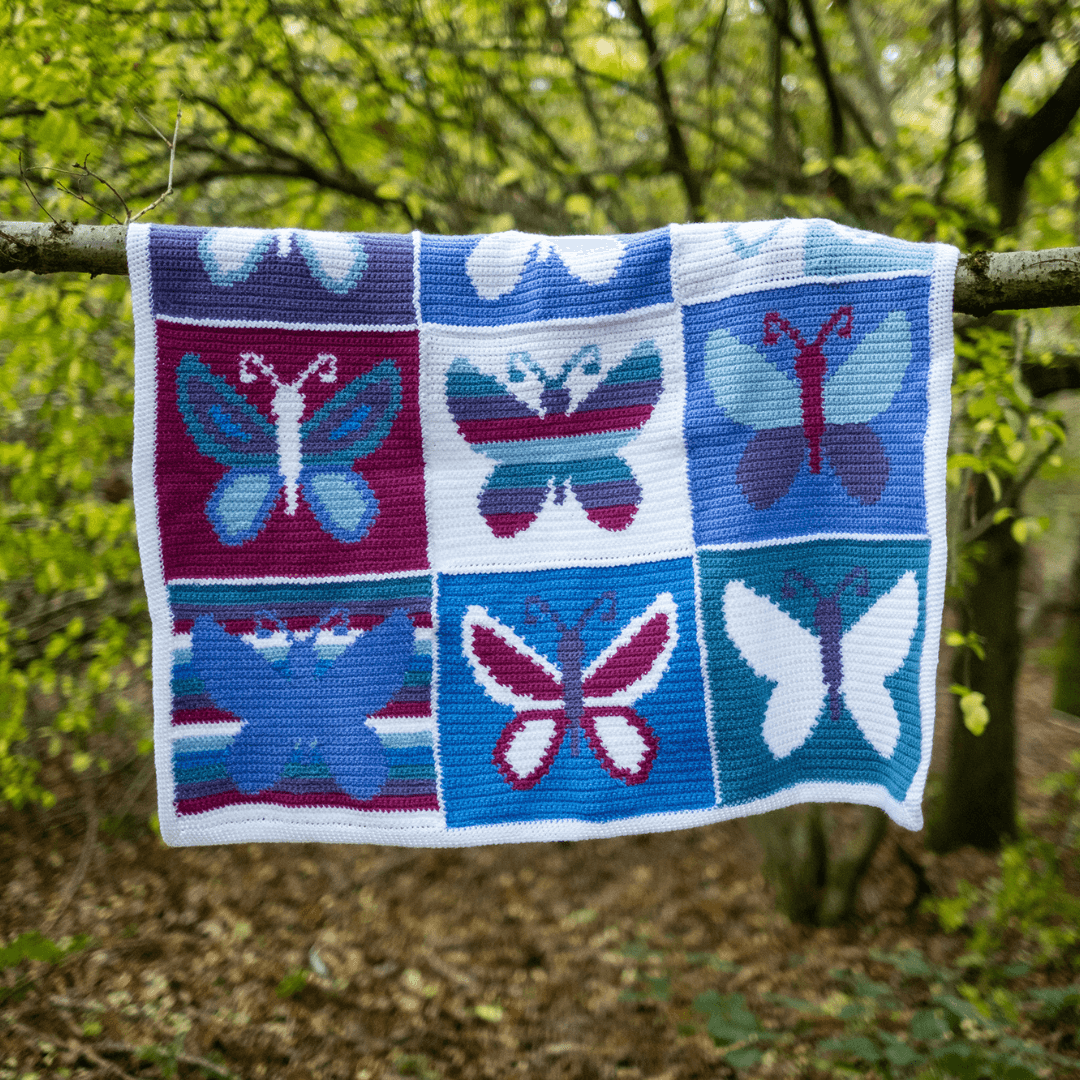
Photo featuring the Mariposa Butterfly Blanket.
7. Editing - as you will see below, editing sometimes can help to rescue photos that you thought were destined for the recycle bin. A little adjustment of colour or brightness, cropping, zooming in or background removal have the ability to work wonders. Whether you use photoshop, Lightroom, Instagram filters, Canva, or some other software, editing is your friend.

Photo featuring the Aphrodite Cushion Cover.
8. Planning - is essential to a successful photoshoot. You need to decide on a location, source your props/models, bring the right equipment, pick the right time/day, and many other things besides. Without a good plan your chances of obtaining stunning photos is significantly reduced.
9. Practice - practice, practice, practice. As the old addage goes, like any other skill, your prowess at creating amazing photos of your work will improve most quickly with lots of practice! Don’t be afraid to get it wrong, try again, take hundreds of photos… as the photos below demonstrate, sometimes issues will arise that aren’t even under your control (I blink A LOT lol!).

Photos featuring the Twisted Trio Ear Warmer and Caitlin Zigzag Scarf.
10. Experiment - don’t be afraid to try something new. Most of my photoshoots are done with the accompaniment of my kids. If the item being photographed is a child-sized garment they act as my models but, as we all know, kids are unpredictable. Fortunately, we can often get good candid photos whilst playing and messing around. Have some fun with it!

Photos featuring the Twisted Trio Ear Warmers.

Which tip do you plan to try first?
Please use the tag #elimeedesigns to show us how you get on with your next set of crochet photos :)
The blog posts you should read next!